Canning Green Beans was a yearly event for my mom. This method of preserving food is a wonderful way to have delicious, healthy food available all year round.
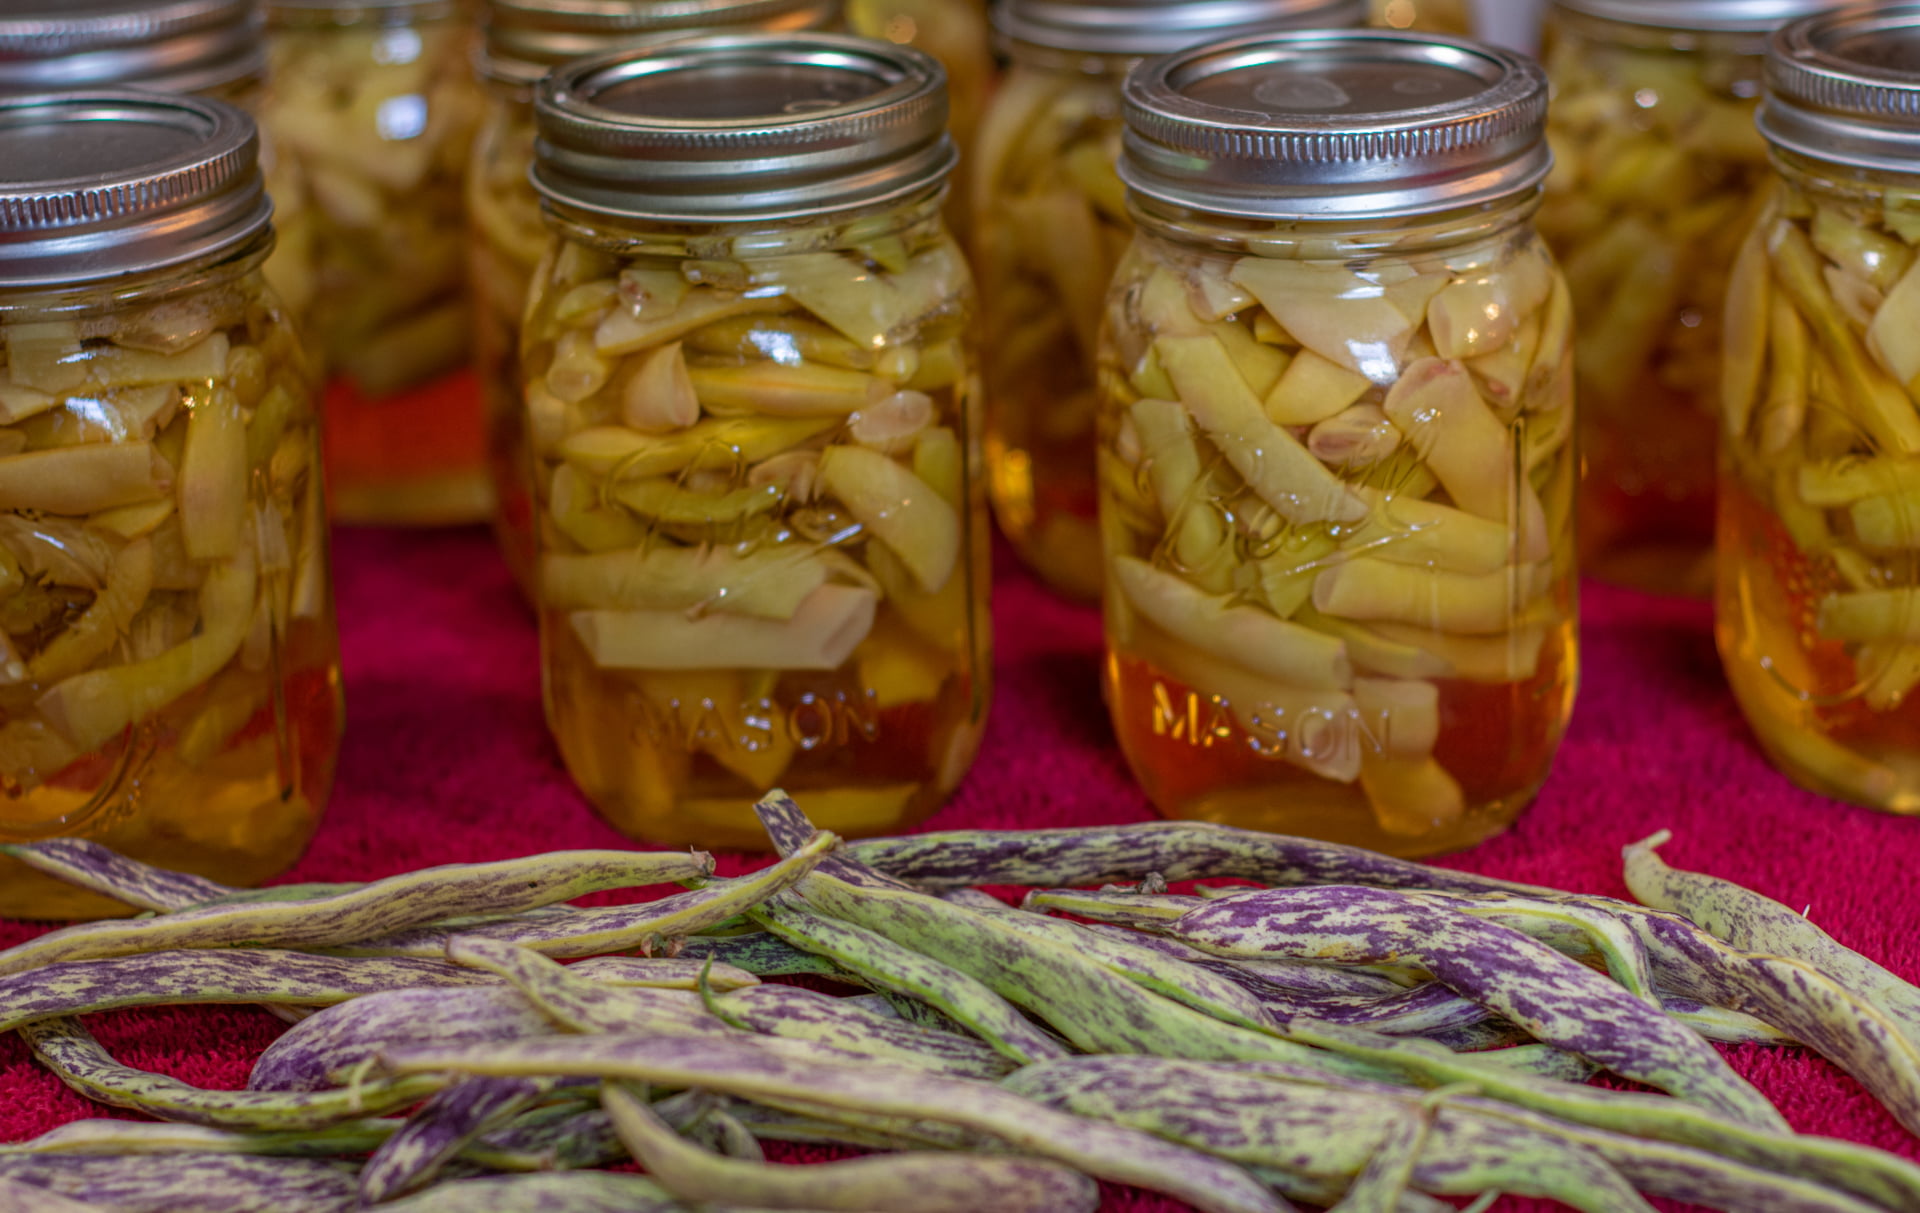
I will admit watching mom canning green beans was not my favorite thing to do. It seemed like a lot of work when you could go to the grocery store and grab a can off the shelf. Because of this, I didn’t begin canning until I was in my 30’s.
WHY CANNING IS IMPORTANT
- Health Benefits – You know exactly what has gone into each jar. There are no additives, preservatives, or chemicals used in the canning process
- Preserving the Harvest from your Garden – Even small gardens can yield an abundance of produce that would otherwise ruin before it could all be eaten
- Preparedness – Having food available when emergency events occur is one less worry you will have. During the COVID “shelter in place”, I didn’t have to fret about having enough food to feed my family
- Expense – Initially, there will be expense involved in purchasing a pressure canner and canning jars, but these are reuseable and will pay for themselves very quickly. The cost of planting your own beans is very inexpensive and the yield will surprise you
WHAT TYPE BEAN TO USE WHEN CANNING GREEN BEANS
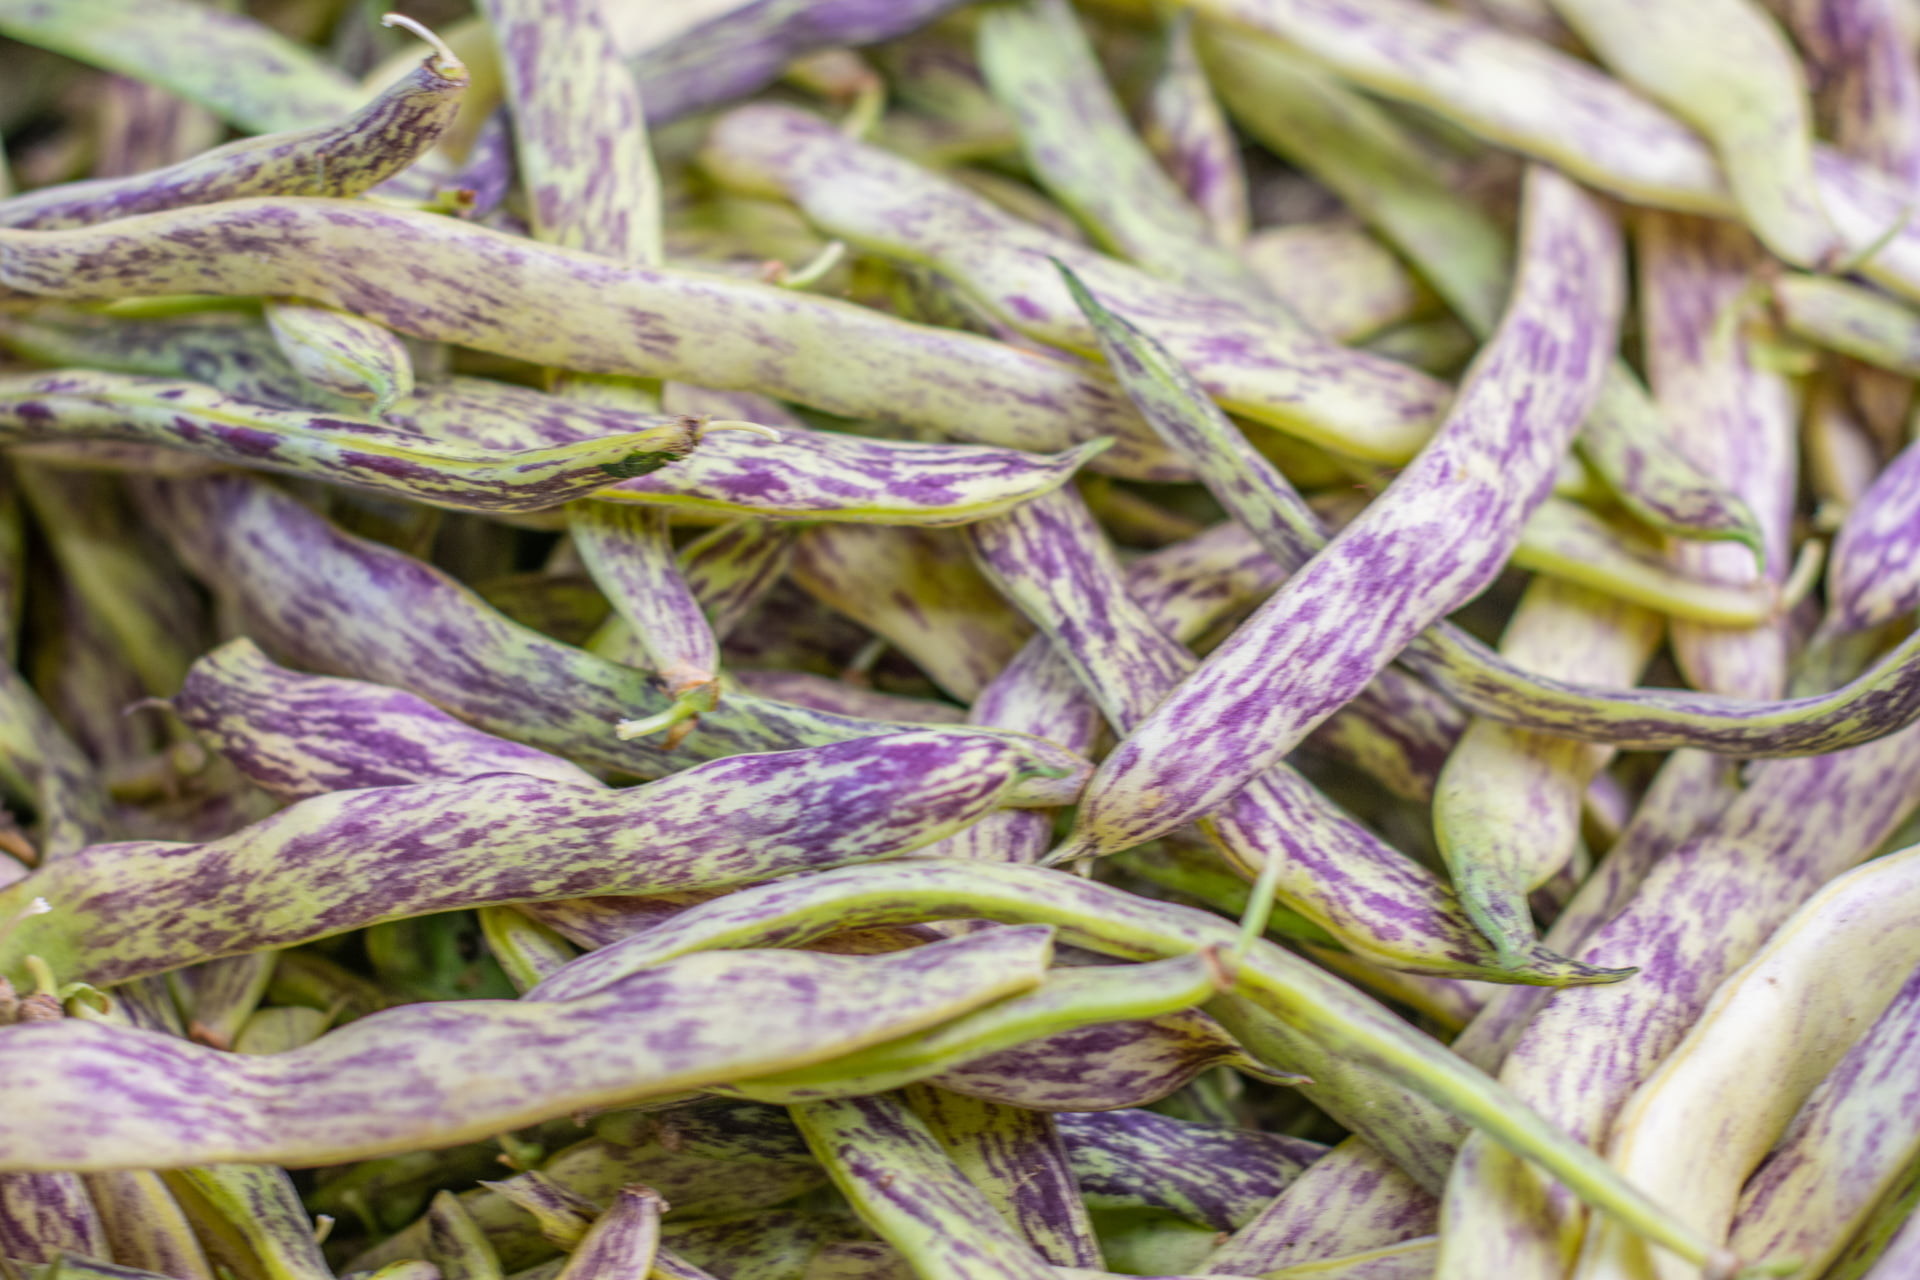
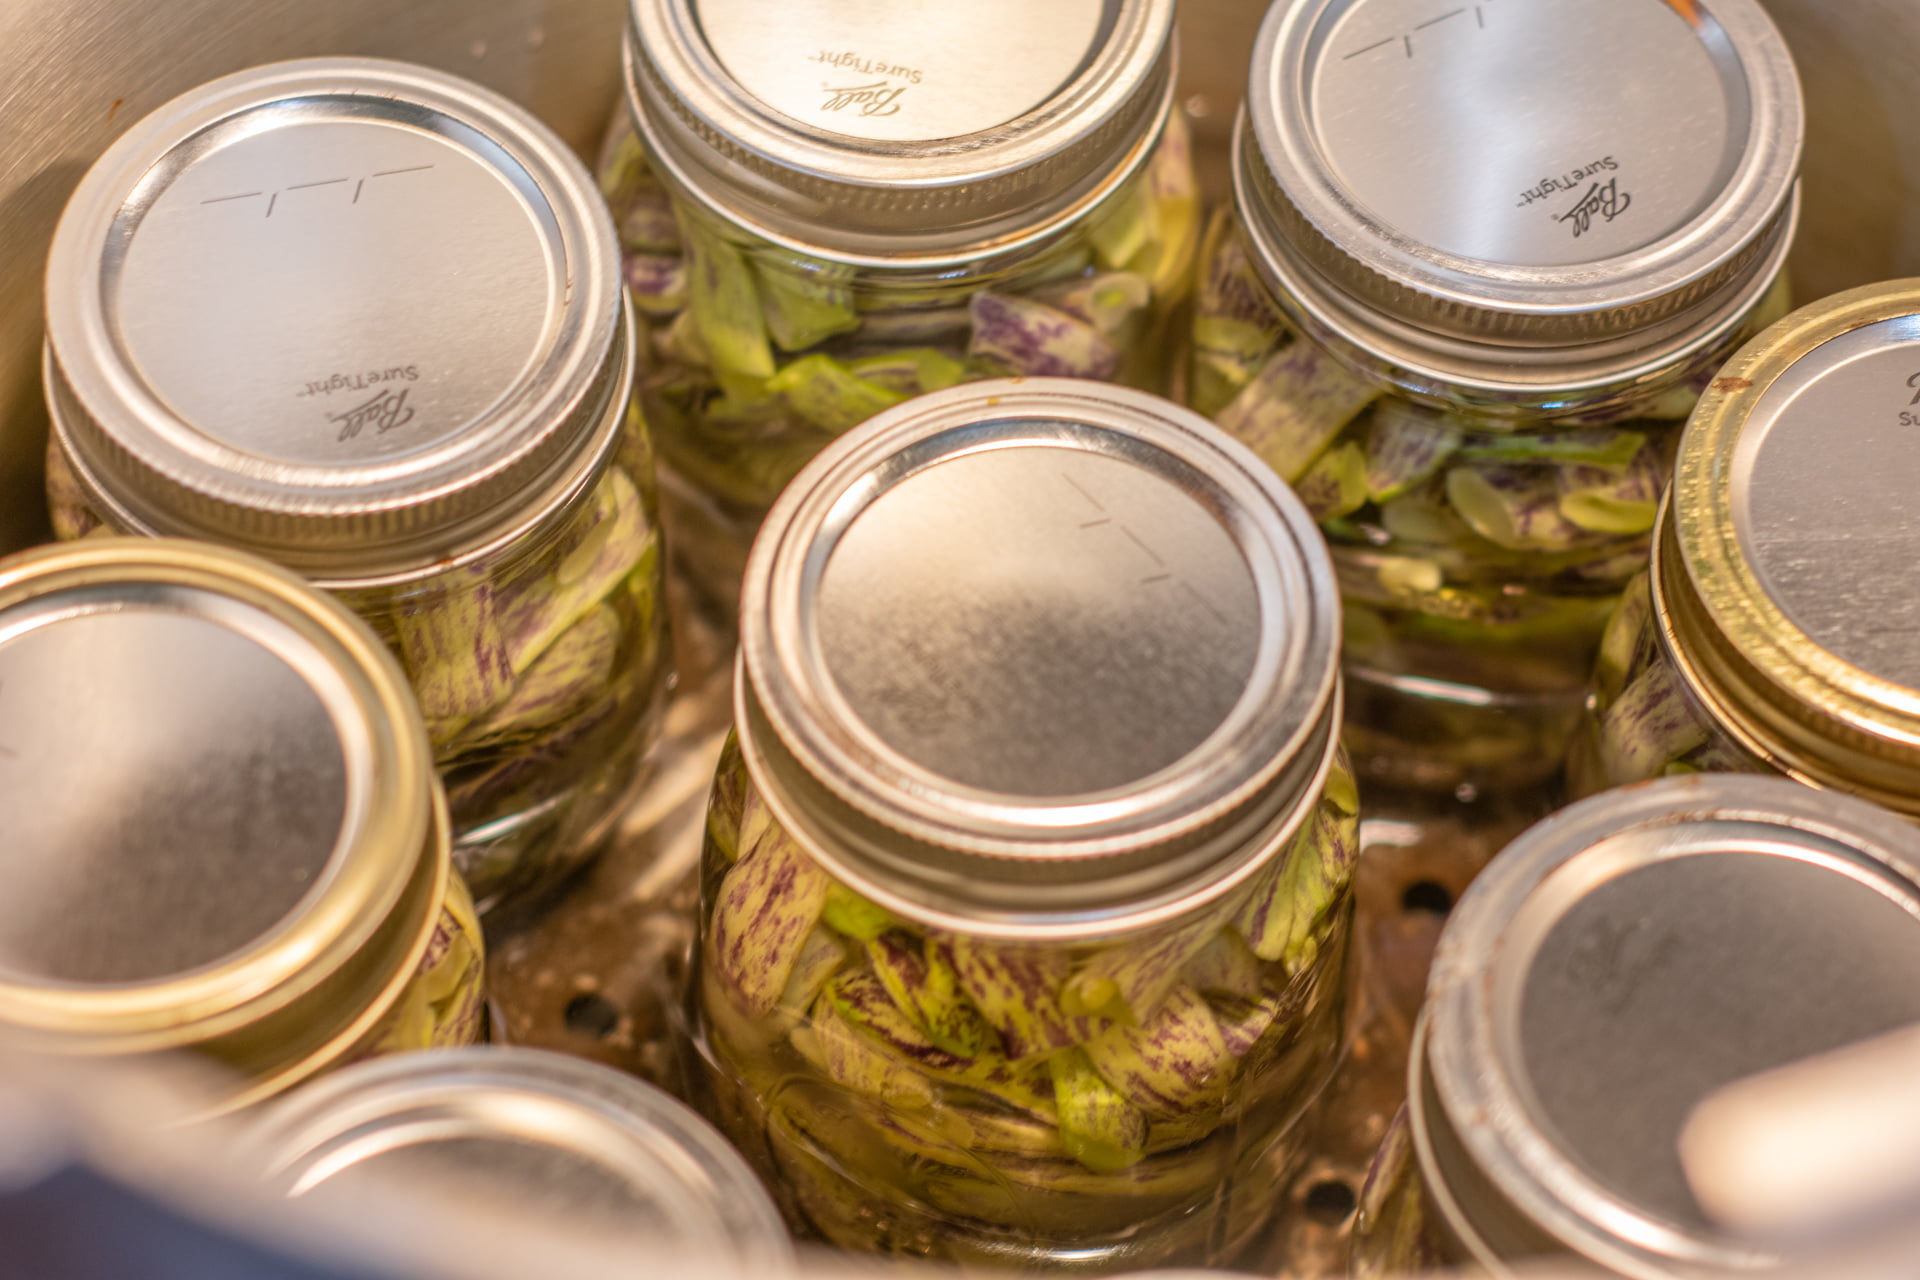
Any type of green bean can be used for canning. The process will be the same for all of them. We usually plant Blue Lake Bush Beans, Kentucky Wonder Pole Beans, and Contender Beans, but we discovered the Dragon Tongue Beans a couple of years ago. They have become our favorite because they are stringless, tender, great producers, and they retain texture when canned. That is, they don’t get soft and mushy.
DO GREEN BEANS HAVE TO BE PRESSURE CANNED?
The only FDA/USDA-approved method of canning green beans is to use a pressure canner. This is because green beans are a low acid food and you need higher temperatures to ensure that botulism and other harmful bacteria will not be present in your foods. You will find different methods such as water bath canning and oven canning, but for the safety of my family and friends, I choose to follow the recommendations of those who have tested varying methods.
There are several manufacturers of pressure canners that vary in size and price. I use a Presto 23-quart canner that is easy to use (once you understand the process) and comparatively priced.

You can tell by the scuff marks that mine is used often. If you have never used a pressure canner before, be sure to read the instruction manual carefully before you begin. Each manufacturer will have different instructions. If you have a friend or family member that has a pressure canner, why not ask them to teach you the process?
LET’S START CANNING GREEN BEANS
The first step will be to prepare your jars, lids, and rings. They need to be thoroughly washed in hot, soapy water and rinsed well. This can be done in the sink or even in your dishwasher. The latest guidelines state that you do not have to sterilize the jars as long as the processing time is 15 minutes or more.
Wash the green beans, clip the ends, and cut into pieces about 1 to 1 1/2 inches long.

I use the raw pack method for canning green beans. This simply means you do not have to par-boil them before canning. Pack the green beans firmly into your jars. If desired, add 1/2 teaspoon kosher salt to each pint jar or 1 teaspoon to each quart jar. Cover with boiling water leaving one-inch headspace.
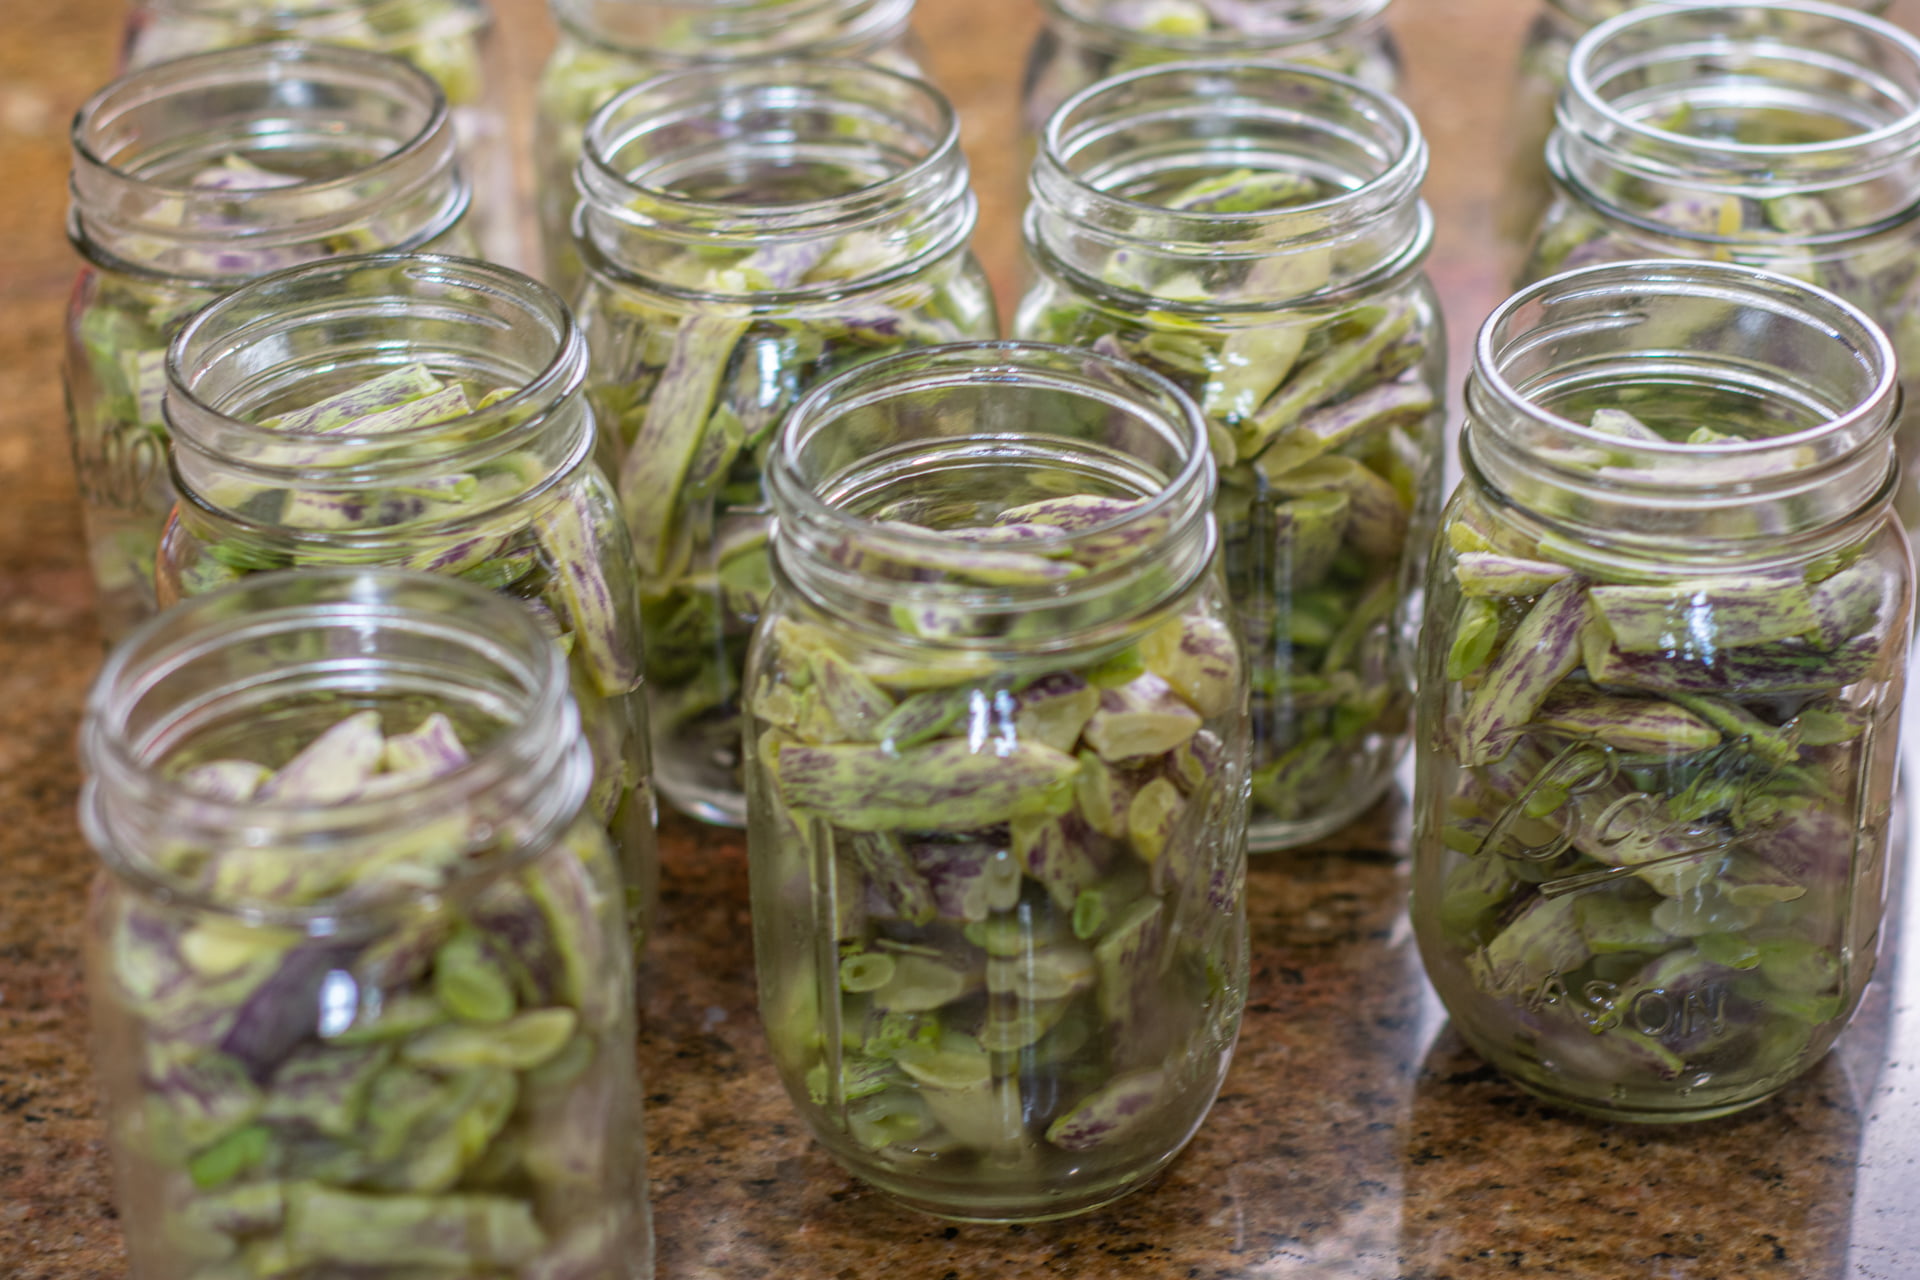
Wipe the rims of the jars with a damp cloth, place the lid on top, and screw on the bands.
Add 3 quarts of boiling water to the pressure canner. Check the instructions on your specific canner because it may vary from the Presto 23-quart canner that I use. Rest the canning rack on the bottom of the canner and place the jars on top of the rack. Rotate the canner lid until it locks in place.

Turn the heat on high and wait for the air vent to pop up. I have a gas stove and I set the temperature to 8.5-9. Alternatively, you can watch for a 10-minute steady flow of steam coming from the pressure valve stem but I’ve found it easier to watch for the air vent to pop up. Once it is raised, set a timer for 10 minutes to allow the canner to reach the proper temperature ensuring proper pressure for the process.
When the 10 minutes are over, place the pressure regulator over the pressure valve. The Presto 23-quart canner uses a steam gauge which makes it easy to see what the pressure is. Watch the gauge until it reaches the recommended pressure for your area. Reduce the heat to medium to medium-low. If the pressure is above the recommended amount, that is fine, as long as it doesn’t reach the “caution” level on the gauge. You do NOT want it to drop below the recommended pressure so keep an eye on it. You may need to adjust the heat again.
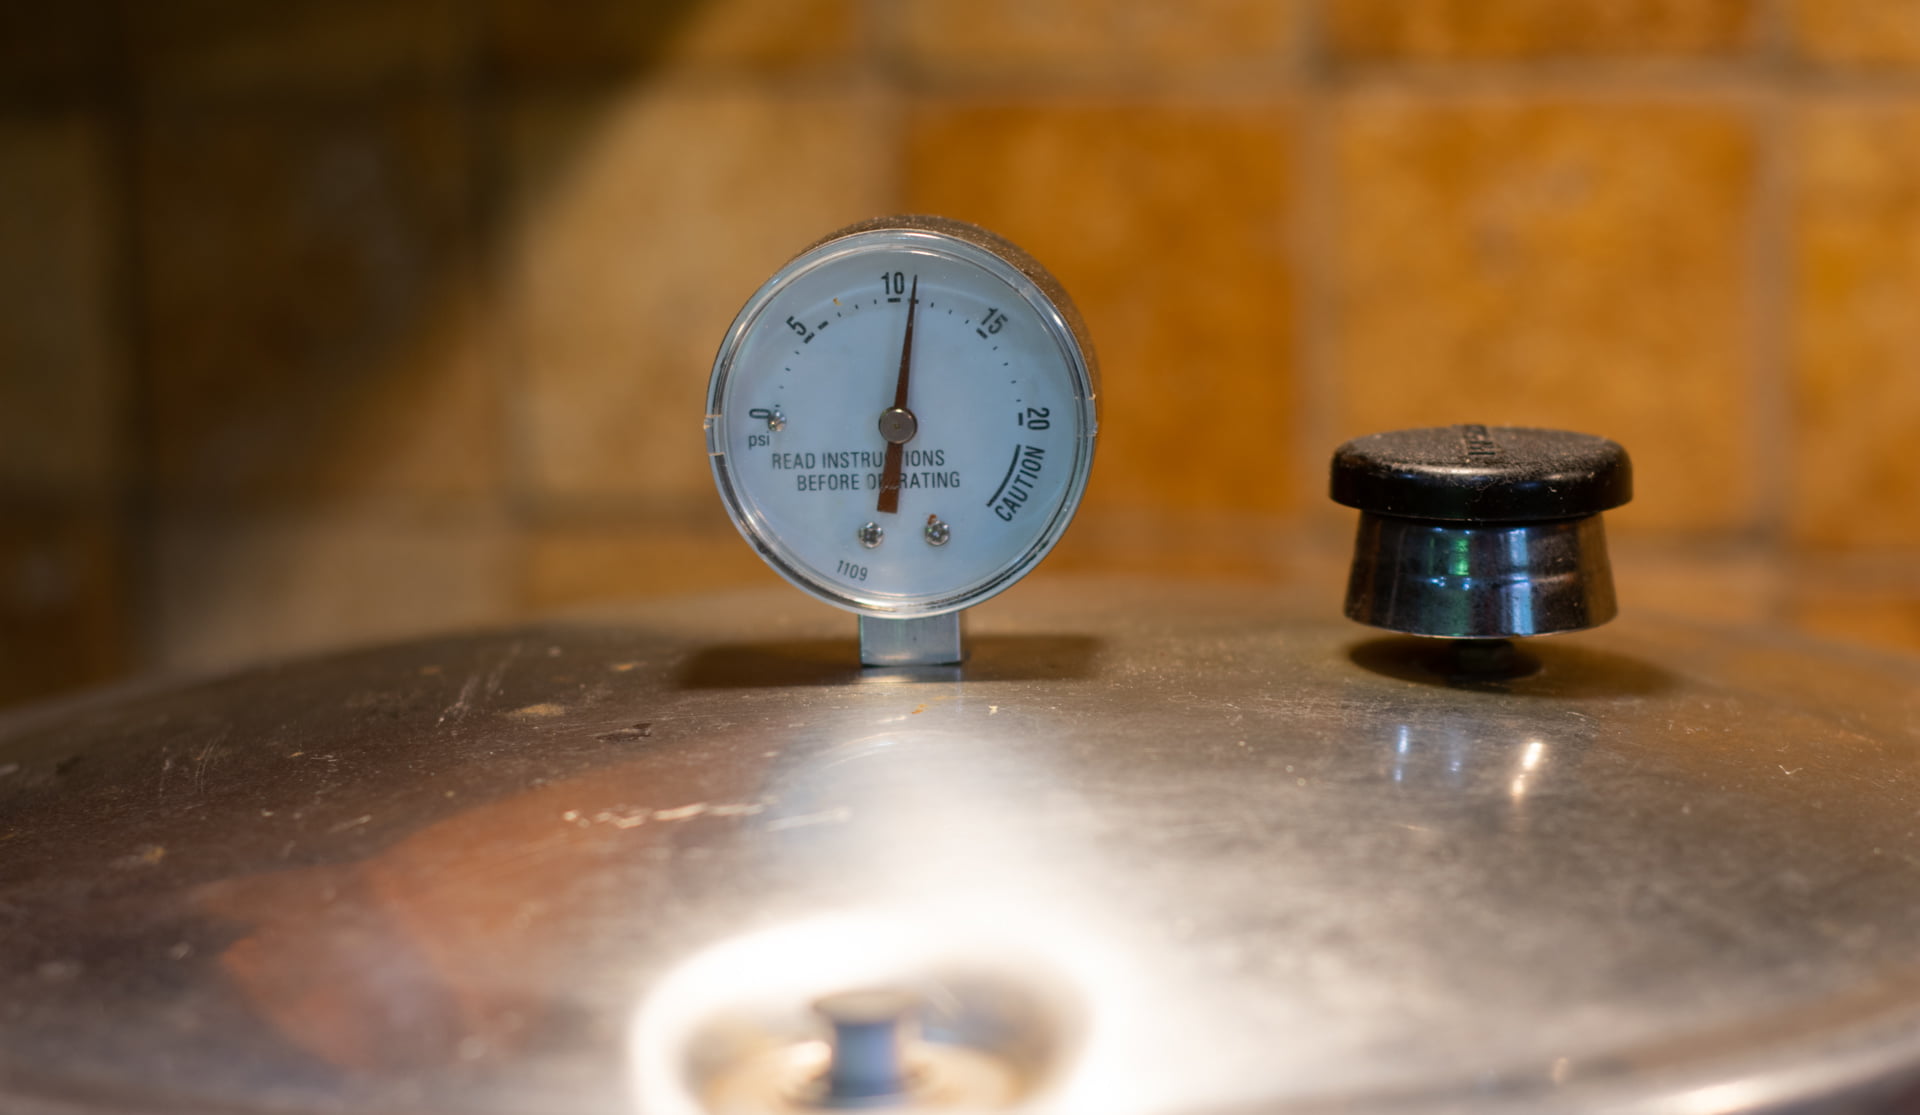
For pressure recommendations for your area, see https://nchfp.uga.edu/how/can_04/beans_
Begin the processing time once the recommended pressure has been reached, not before. For pints, it will be 20 minutes and for quarts, it is 25 minutes.
When the processing time is complete, turn off the heat. Do not attempt to open the canner until the pressure is all the way down to zero and the air vent drops. Remove the pressure gauge and carefully unlock the lid. Tilt the lid away from you because there will still be a lot of steam that comes out.
Using a jar lifter, carefully remove each jar and place it on a dry towel. One of the best sounds you will hear is the “ping” of the lids sealing! After 24 hours, check each jar for proper sealing by gently pressing in the center of the lid. If it is sealed, it will not pop up but will remain indented. Label each jar with the contents and the date processed. You may now store your freshly canned green beans in a cool, dry place, and they will be ready for you to enjoy any time of year.
Besides canning vegetables, I also make homemade jams, jellies, relishes, and pickles. You may enjoy these recipes!


I love your canned beans!
Thanks! 🙂